Interior · 7 min read
How to Paint Baseboards, Window and Door Casings, and Chair Rails
Trim frames every room, so its flaws are the first thing the eye finds. Here is the order of work, the one gap to leave uncaulked and the small details that make painted woodwork look finished.
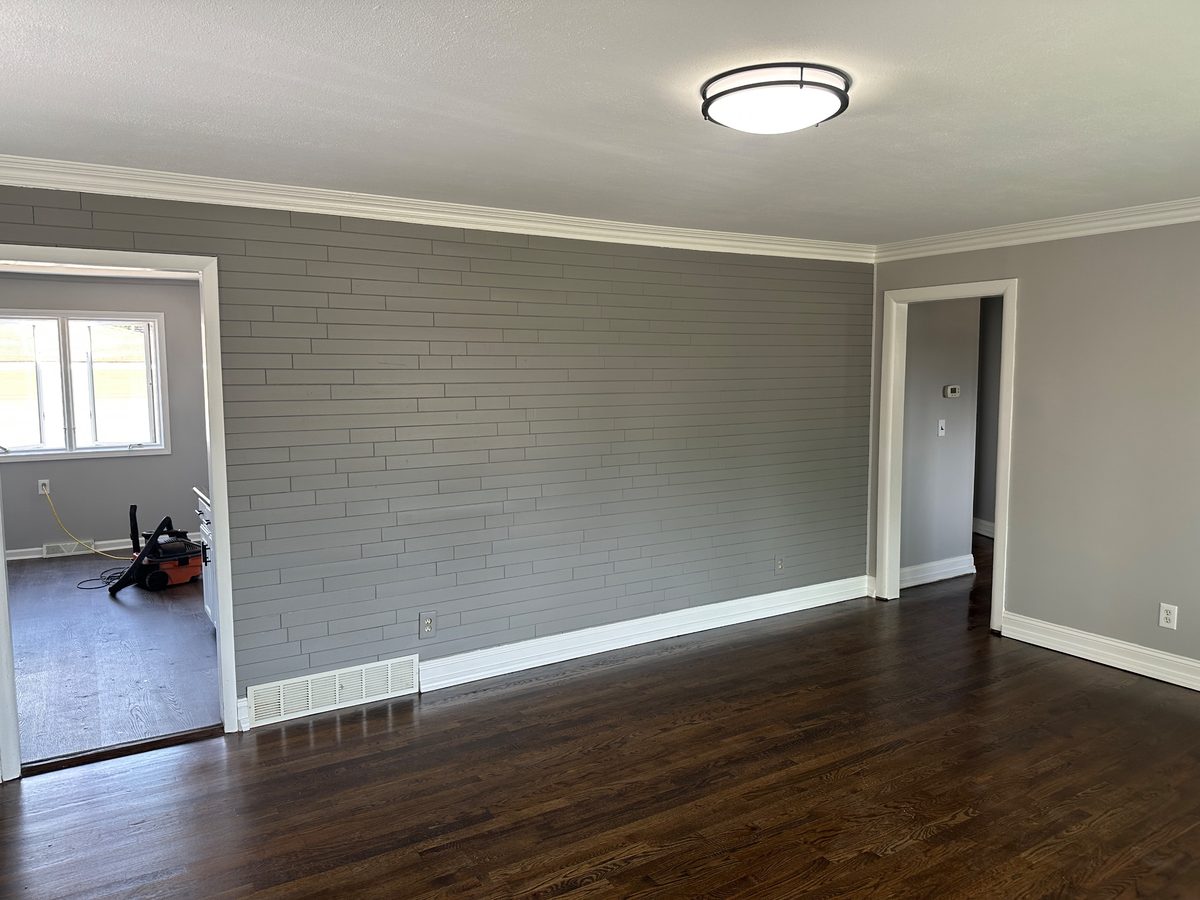
To paint baseboards, casings and chair rails well, protect the floor, clean and degrease the trim, scrape and sand it, fill nail holes, caulk the joints at the wall and along the top edge, spot-prime, then brush two thin coats of satin or semi-gloss, sanding lightly between them. Leave the gap at the floor uncaulked.
Key takeaways
- Clean, sand and fill the trim first, then caulk the joints at the wall and the top of the baseboard, but not the gap at the floor.
- Prime bare wood and patches, then brush two even finish coats, sanding lightly between them for a smooth surface.
- Protect the floor with a stiff shield and drop cloths before the first brush stroke, especially on old hardwood, rather than relying on tape alone.
- Use one sheen for all the trim in a room, typically satin or semi-gloss, so casings, baseboards and rails match.
Jump to a section
- What order should trim be painted in?
- How do you protect the floor without ruining the finish?
- How should old trim be cleaned, sanded and filled?
- Which gaps should you caulk, and which should you leave alone?
- Where does trim need primer?
- What sheen is right for trim?
- What about chair rails and wainscoting?
- How do you brush trim smoothly and check the result?
- Questions
Trim is a small share of the surface in a room and a large share of how the room looks. Walls can forgive a little roller texture. Woodwork cannot: the eye follows its straight lines around the room, so every drip, gap and fuzzy edge shows. The steps are simple; the craft is in not skipping any of them.
What order should trim be painted in?
Many painters work ceiling first, then walls, then trim, so that roller spatter and wall-paint drips never land on finished woodwork. Others paint the trim first, because any overlap onto the wall is covered when the walls are cut in. Either order works as long as the trim has dried hard, not just to the touch, before tape goes against it (check the paint and tape labels). Our guide to cutting in and taping clean lines covers tape timing.
Within the trim, work top to bottom: a plain chair rail first, then window and door casings, then baseboards last. Baseboards sit lowest, collect the drips and dust from everything above, and are the easiest to touch up if something lands on them. Wainscoting is the exception, covered below. Our guide to painting interior trim and doors covers trim prep, enamel choice and the order for paneled doors.
How do you protect the floor without ruining the finish?
Hardwood floors in older homes may be original, with finishes decades old. Painter’s tape pressed onto them can lift an aged finish, especially if left on, and tape alone will not stop a loaded brush from dripping behind it.
A careful painter does three things:
- Vacuums the floor line first, because grit trapped under a shield or tape turns into scratches.
- Slides a stiff plastic or metal shield along the bottom of the baseboard and moves it as the work goes, rather than relying on tape alone.
- Covers the rest of the floor with drop cloths and keeps a damp rag at hand for stray drips.
A drip or scuff on a hardwood floor is far harder to fix than one on trim, so protecting floors, furniture and plants comes before any painting starts.
How should old trim be cleaned, sanded and filled?
Start with cleaning. Baseboards collect dust, wax, pet hair and the polish residue from decades of mopping, and casings around doors collect hand oils. Paint grips poorly to any of it, and wax or silicone polish can cause the little craters called fisheyes. Where trim runs past an outlet or switch, turn the power off to it first and keep the cloth well wrung out. Wash with a degreasing cleaner (check the label for the surfaces it suits), rinse with clean water and let the wood dry.
Then look closely at the surface. Original woodwork in a 1920s or 1930s house is often under many coats, and the buildup can round over the crisp profile of the molding. Scrape anything loose or flaking and feather the edges so there is no visible ridge. Then sand the whole surface to a dull, even tooth. Our guide to sanding and caulking trim goes through grits and technique.
Once the surface is sanded and the dust has been wet-wiped away, fill nail holes and small dents with wood filler or lightweight spackle. Leave the filler slightly proud and sand it flush when it is dry. Our guide to filling nail holes, dents and nail pops explains the choices. Check each patch in raking light, because a spot that looks flat head-on can show as a bump from the side.
Which gaps should you caulk, and which should you leave alone?
This is the detail that separates a finished room from a rushed one. Caulk with a paintable acrylic-latex caulk in these places:
- Along the top of the baseboard, where it meets a plaster or drywall wall. Old plaster walls are rarely flat, so the gap varies along the length.
- Where a casing meets the wall on both sides and across the top of a door or window.
- Along the top and bottom of a chair rail where it meets the wall, and at the mitered corners where two pieces meet.
- In the narrow seams between a baseboard and its cap or shoe molding, if the joint is open.
Leave the bottom gap alone. Where the baseboard meets the floor, wood moves with the seasons. Michigan houses swing from humid summers on Lake St. Clair to dry, heated winters, and a caulked bottom edge tends to crack and show a dark line. If the gap is large enough to bother you, a shoe or quarter-round molding is the traditional fix, not caulk.
Use a small bead, tool it with a damp fingertip, wipe the excess and let it skin over before painting; the label gives the wait time. Pure silicone generally cannot be painted, so confirm that the label says paintable.
Painting rooms like this in Grosse Pointe?
Tell us about your home and we’ll be in touch to talk it through.
Where does trim need primer?
Once the caulk has skinned over and the patches are dry, prime every patch, every bare wood spot and any area sanded down to the wood. Patches that are not primed soak up finish paint differently and show up as dull spots called flashing, especially in semi-gloss. Stains, such as water marks or bleeding knots, need a stain-blocking primer.
If the trim has glossy old oil-based paint, scuff-sand it and use a bonding primer; check the label for what it can go over. Our guide to painting over oil-based and glossy paint explains how to test adhesion. Skipped primer is a common reason trim paint peels or chips.
What sheen is right for trim?
Satin or semi-gloss are the usual choices. A glossier finish wipes clean more easily, which matters for baseboards that meet mops and vacuums, but it also shows every flaw in the wood and the sanding. In a house with imperfect old woodwork, satin often looks calmer than semi-gloss.
Whichever you choose, keep it the same on every piece of trim in the room: casings, baseboards, chair rail, window sills and doors. Mixed sheens read as a mistake even when the color is identical. Our paint sheen guide explains how sheen affects washability and how flaws show.
| Trim piece | Common choice | Watch for |
|---|---|---|
| Baseboards | Satin or semi-gloss | Scuffs, dust, floor gap |
| Door and window casings | Same as the doors | Hand oils, mitered joints |
| Chair rails | Same as the trim | Top ledge drips, wall seam |
| Wainscoting panels | Same as the trim | Paint pooling in corners |
What about chair rails and wainscoting?
A chair rail is a line that draws the eye across the wall, so its top edge matters most. The ledge catches dust and drips, and the seam between the rail and the wall often gaps on old plaster. Caulk that seam, check the top of the rail in raking light and run a clean brush stroke along the ledge last.
If the room has wainscoting or paneling below the rail, work that section from the inside out instead: the recessed panels first, then the horizontal rails and vertical stiles, then the cap rail last, so wet edges never overlap detail work. Keep a damp rag ready for any drip on finished panels. The same approach is covered in our guide to painting decorative woodwork and paneling.
How do you brush trim smoothly and check the result?
Use a good angled brush, load about a third of the bristles and keep a wet edge. Brush with the grain and finish each section with one light, final stroke. Do not overwork the paint as it begins to set, and resist going back into it once it has started to tack. Thin coats level better than thick ones and are less likely to run on a molded profile. Trim enamels differ in how they flow out and how soon they can be recoated, so check the label.
Tall baseboards, common in older homes, are built up from several pieces: a flat board, a cap molding and often a shoe. Paint the profile’s edges and valleys first, then the flat face, so paint does not collect in the corners.
Between coats, let the first coat dry per the label, sand lightly with a fine sanding sponge, wipe off the dust and apply the second. That small step is what gives trim a smooth, finished look.
The lines between wall and trim should be straight and steady. At the floor, the baseboard should end in a clean, shadowed gap, not a smear of paint or caulk, and the floor itself should be spotless.
If you would rather hand the trim to a painter, interior painting from Guiffre’s Painting Co. covers baseboards, casings and chair rails, and starts with the same kind of preparation: protecting floors and furniture, cleaning, scraping, sanding, filling, caulking joints and priming bare spots, followed by Sherwin-Williams paint in even coats and a final walkthrough with touch-ups.
Questions
Should you caulk the gap between the baseboard and the floor?
No. Wood moves with the seasons, and a caulked bottom edge tends to crack and show a dark line. If the gap bothers you, add a shoe or quarter-round molding. Do caulk the top of the baseboard where it meets the wall.
Do you paint baseboards before or after the walls?
Either order can work. Many painters do ceiling, walls and then trim, so roller spatter never lands on finished woodwork, while others paint the trim first and cut the walls to it. Whichever order you choose, let the trim dry hard before putting tape against it.
What sheen should baseboards be?
Satin or semi-gloss are the usual choices. Semi-gloss wipes clean more easily but shows more flaws, so satin often looks better on older, imperfect woodwork. Use the same sheen on every piece of trim in the room.
About the author
Guiffre's Painting Co.
Family-owned interior painting and plaster repair serving Grosse Pointe and Metro Detroit. Owner Bob Guiffre has been painting for more than 37 years — more than 1,800 homes — and his son, Bobby, works beside him on every project. We paint with Sherwin-Williams. Estimates are free. Insured: $1,000,000 general liability. Call (586) 722-3277.