Older Homes · 7 min read
How to Paint Arched Doorways and Curved Plaster Walls
Arches and curves are among the prettiest details in an older house and among the easiest to paint badly. The work is slow, mostly by brush, and decided by prep.
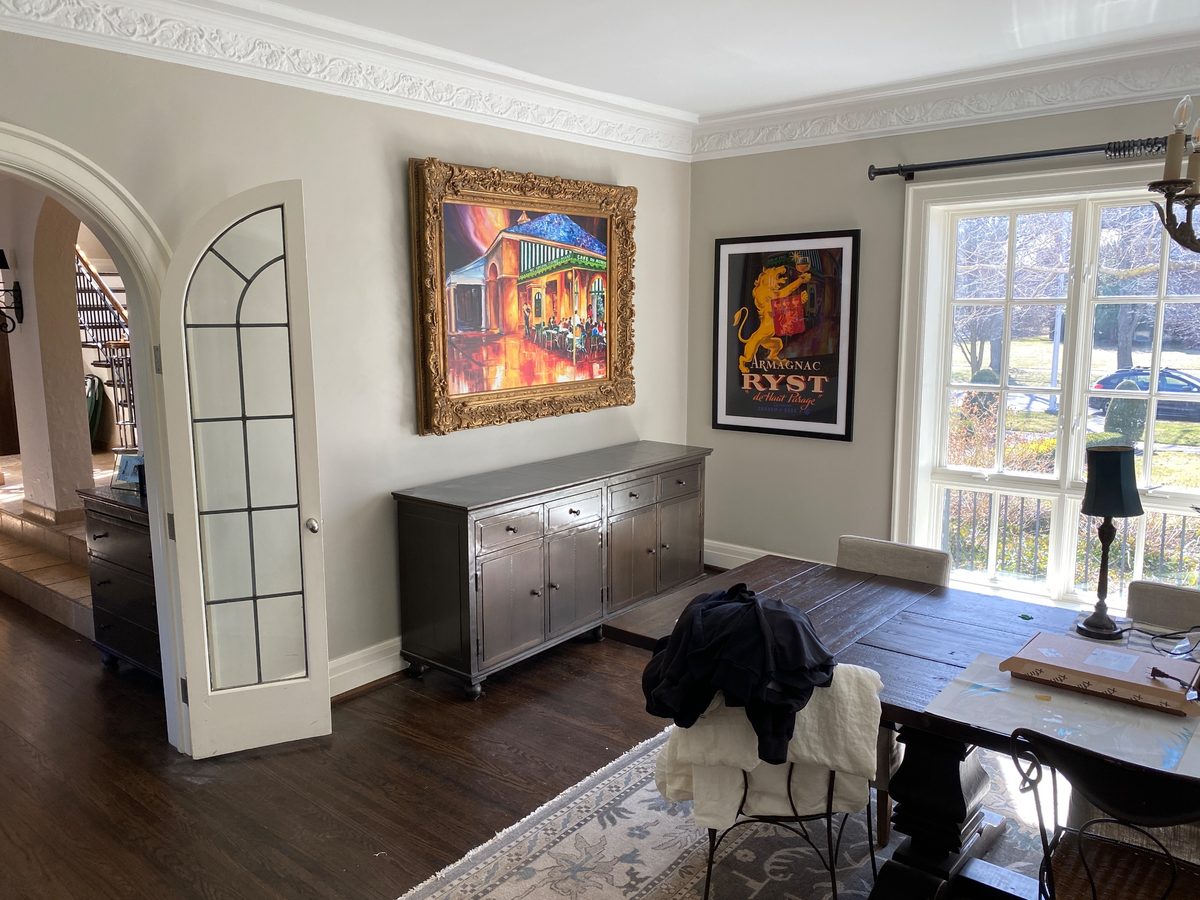
To paint an arched doorway or curved plaster well, clean and repair the surface, prime patches, caulk where trim meets the curve, then work mostly by brush. Cut in slowly with an angled sash brush, keep a wet edge, roll only the flat parts, and check each section in raking light while it can still be fixed.
Key takeaways
- Curves are mostly brush work because a roller cannot follow them and leaves lap marks and skipped edges.
- Fill and sand patches, prime them, then caulk the joints where trim meets the curved plaster before any color goes on.
- Cut in slowly with a good angled brush, and check each section in raking light while the paint is still wet.
- Keep sheen and color consistent from the curve into the flat wall so the arch does not look patched.
Sherwin-Williams colors in this guide
Jump to a section
- Why are curved walls and arches harder to paint?
- What prep do arches and curved plaster need?
- How do you caulk where trim meets a curve?
- What brush and method work best for arches?
- In what order do you paint an arch, its trim and the walls?
- What sheen and color should an arch have?
- What mistakes show most on curves, and how do you catch them?
- What about arches that connect several rooms?
- Questions
Arched openings, rounded corners and coved ceilings turn up in many older plaster houses, including some of the French-style, Tudor Revival and Mediterranean-style homes built in Grosse Pointe and across Metro Detroit in the 1920s through the 1940s. In houses of that age they are usually plaster, which needs care.
Why are curved walls and arches harder to paint?
A roller works best on a flat surface and loses control on a tight curve. On an arch it can skip the edge, leave a stippled texture different from the nearby wall, or ride onto the trim. A brush follows the shape, but a brush also leaves strokes, so the technique has to be deliberate.
The other difficulty is visual. A curve catches light across its whole length, so any lump of caulk, ridge of old paint or flash from an unprimed patch becomes a streak that runs with the shape.
What prep do arches and curved plaster need?
Prep is where most of the difference is made, and it is more about patience than gear. A careful job looks something like this:
- Look first. Tap lightly with a knuckle and run your hand along the arch. A hollow sound, a bulge or flaking edges mean the plaster may be loose, which needs attention before paint. See our guide to loose plaster repair.
- Clean. Dust, cobwebs and cooking film collect on curves and keep paint from bonding. Let anything washed dry fully before filling or priming.
- Scrape and sand the edges. Loose paint is scraped, and the edges of flaking areas are feathered so they do not show as ridges.
- Fill and sand. Hairline cracks and dings are filled with a compound suited to plaster (check the label) and sanded smooth. A curve is sanded by hand with a flexible sponge or folded abrasive that follows the shape, because a flat block will flatten it.
- Prime the patches. Bare or filled spots get primer, or they flash dull under the finish.
- Caulk the joints. Wherever wood casing or trim meets the curved plaster, use a paintable caulk and smooth it with a damp finger or tool.
Our guide to painting plaster walls covers the surface itself in more depth.
How do you caulk where trim meets a curve?
The joint where straight wood casing or trim meets curved plaster is a common place for gaps to open as the house moves with Michigan’s humid summers and dry, heated winters. A hairline gap there looks like a dark line once the paint is on. If a crack keeps reopening in the same spot, our guide to hairline cracks that keep coming back explains why.
Use a paintable caulk, cut a small opening in the tube and run a thin bead. Smooth it right away, wipe the excess and let it set according to the label before painting. Overfilled caulk makes a ridge that catches light, and a bead that is too thin leaves the gap. If the gap is wider than a bead can bridge, it may need a filler first. Do not use a caulk that cannot be painted; silicone, for example, can repel paint.
Caulk belongs in joints, not on edges. Use it where wood meets plaster and in true inside corners, such as where a coved ceiling meets the wall beside the arch. Leave the outside edge, where the return turns onto the wall face, uncaulked, because caulk there would blunt the crisp or rounded edge; fill, sand and prime it like any other plaster. A crack through the middle of a flat plaster face is usually filled and sanded instead, so the repair disappears into the wall.
What brush and method work best for arches?
A good angled sash brush, roughly two to two-and-a-half inches wide, gives control on curves. Dip about a third of the bristles and tap off the excess: an overloaded brush leaves runs, and a dry one drags and leaves ridges.
- Cut in first. Paint the edges along the trim and ceiling, following the shape slowly.
- Work in sections. Paint a short run of the curve, then blend into the next before the edge dries.
- Finish with light strokes. Stroke along the direction of the curve, not across it.
- Roll the flats. Use a small roller on the flat portions and blend the brushed edge into it while both are wet.
Our guide to cutting in and taping clean lines goes deeper on technique. Ordinary tape wrinkles on a tight curve, so a steady hand and a clean, well-shaped brush are often a better route than masking.
Rounded (bullnose) corners and coved ceilings follow the same logic. Brush the corner or the cove itself first, then roll the flat surfaces up to it before the brushed paint sets, so the two textures blend. A plaster corner that has chipped is filled, sanded back to a round by hand and primed before color goes on.
Painting rooms like this in Grosse Pointe?
Tell us about your home and we’ll be in touch to talk it through.
In what order do you paint an arch, its trim and the walls?
A common sequence is ceiling first, then the arch and walls, then the trim, so drips and brush overlap land on surfaces that are not finished yet. Within the arch, the inside surface of the opening, often called the soffit or return, is usually painted before the flat faces on either side. That way the cut line on each face is the last thing drawn.
Work top to bottom and finish one whole surface at a time. Stopping halfway along a curve leaves a dry edge that shows as a line once the second half is painted. If a break is unavoidable, stop at a natural edge: the point where the straight side of the opening begins to curve, the outside edge of the return, or the edge of the trim.
Two finish coats are typical over primed patches, with the first dry per the label before the second goes on. A deep color or a big color change may need more, so check the label and judge by how even the surface looks in raking light.
What sheen and color should an arch have?
Match the sheen of the wall it is part of. Flat or matte plaster walls hide waves; an arch in a glossier sheen than the wall beside it looks like a different material. Keep sheen consistent across one wall, and let the trim around the arch carry the slightly higher sheen that trim normally has. Our paint sheen guide covers the choices.
For color, arches can take the wall color, which makes the opening seem softer, or the trim color, which turns it into a frame. Pure White SW 7005 (a soft, clean white) and Alabaster SW 7008 (a warm, creamy off-white) both suit trim, and Agreeable Gray SW 7029 is a light warm gray that works as a wall color. Whichever you choose, test a large sample on the actual wall in the room’s light, since screens and chips mislead.
What mistakes show most on curves, and how do you catch them?
A few are easy to look for. Heavy caulk beads that stand proud and catch the light. Roller texture on the flat wall that stops abruptly at the curve. Dull flashed patches where filler was never primed. And a line where the brushed paint dried before the next section was blended.
Raking light is the check. Hold a work light or a bright phone flashlight low against the surface and look along the curve. You will see lap marks, ridges, flashed patches and stray bristles that normal room light hides.
Look at each section as soon as it is painted. While the paint is wet, a light stroke can smooth a ridge or lift a bristle. Once it starts to set, leave it alone, because brushing tacky paint drags and leaves marks worse than the original. After it dries, a ridge is sanded level, spot-primed if the sanding went through, and recoated. A final walkthrough with touch-ups, like the one in our final walkthrough and touch-up list, is where any remaining flaws are caught.
What about arches that connect several rooms?
An arch is seen from two rooms, often in two different lights and sometimes in two wall colors. Decide where the color changes. The cleanest break is the outside edge where the return turns onto each wall face, not a line partway along the curve. If the two rooms are different colors, consider painting the return in the trim color so it does not favor one side. Our guide to painting 1920s Tudor interiors covers older rooms where arches and other plaster details are common.
If your house has several arches, plan the work as a single decision about sheen, color and caulk so they all match. For help with plaster repair before painting, see our wall and plaster repair page.
Questions
Can you use a roller on an arched doorway?
A small roller can work on the flat parts, but the curved portion is mostly brush work. A roller can skip the edge of the curve and leave a texture different from the nearby wall. A careful painter cuts the curve with a brush and blends the roller into it while both are wet.
Why do arches show cracks and gaps so quickly?
The joint between trim and curved plaster moves as the house expands and contracts with humidity and heat. Unfilled hairline gaps read as dark lines once painted. Filling them and using a flexible, paintable caulk at the joint helps keep the line clean.
What sheen should I use on curved plaster?
Match the sheen of the wall the curve belongs to, typically flat or matte on older plaster because it hides waves. Trim around the arch can carry a higher sheen like satin or semi-gloss. Keeping sheen consistent across a single wall prevents a patched look.
About the author
Guiffre's Painting Co.
Family-owned interior painting and plaster repair serving Grosse Pointe and Metro Detroit. Owner Bob Guiffre has been painting for more than 37 years — more than 1,800 homes — and his son, Bobby, works beside him on every project. We paint with Sherwin-Williams. Estimates are free. Insured: $1,000,000 general liability. Call (586) 722-3277.